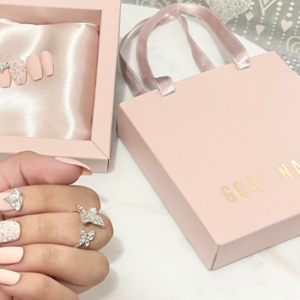
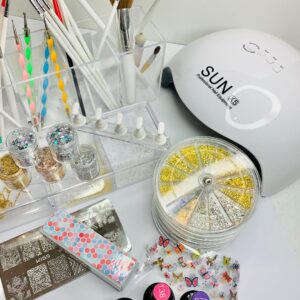
Ever wonder how to ship press on nails? Well, let’s talk about it. Shipping your press on nails is a super easy process and since a lot of people use Etsy to sell their press on nails I’ll explain how to ship using their platform.

This post may contain affiliate links, which means I/we may receive a commission, at no extra cost to you, if you make a purchase through a link. Please see our full disclosure for further information.
This post is about how to ship press on nails.
Along with your nail orders, you’ll just need a few things:
Bubble Mailers
Label Printer
Printer
Once you have your press on nails created and packaged, you’ll need to ship your orders.
You will want to have a scale to weigh your package. I’ve had mine for so long that I don’t even remember where I purchased it but any of these will do the job. When you weigh your items make sure you have everything you will include in your order along with the bubble mailer. This will ensure you have the correct weight. To save time, I would keep an account of what the weights are for all your regular orders. For instance, make a note to remember what the weight is for one set of nails in one package versus 2 sets or 3 and so on.
Start by logging into your Etsy shop under Shop Manager/Orders and Shipping. Select the Get Shipping icon to purchase and print your shipping label and receipts. You’ll need to do this for each order.


The best way I’ve found to make this process as smooth as possible with minimal risk of mixing things up, is to use an assembly line approach. By that, I mean layout all your orders one item at a time. For example, you have 10 orders, layout all ten bubble mailers side by side. Then lay out the nails on top of each bubble mailer. Next, layout a thank you card/instruction card for each, then a prep kit for each, and so on. It makes the process much faster than trying to lay out one whole order, then another order, and so forth.
Make sure you have everything together before you start putting things inside of each bubble mailer.
I absolutely rave about this Canon MX922 printer I have, but it has since been discontinued. I noticed it has an insane price on the few across the internet that are still left. I put a link to the printer anyway so that you can look at the features and find a comparable printer that is a whole lot cheaper. Since you’re only using the printer to print receipts any printer should do the job, but it would make your life easier if the printer at least has wireless capabilities and the ink is pretty reasonable in price.

Next, I would suggest printing out all the shipping labels in the same order. I recommend this shipping label printer. This particular shipping label printer uses the roll instead of sheets, which I find is better and it’s super easy to use as I currently use it with my Mac desktop. This makes the process of shipping your press on nails so much faster because you can just peel and stick the labels right onto your bubble mailers. Best of all the shipping label printers don’t require ink.
Lastly, start to place everything inside your bubble mailers. and stick your shipping labels on, paying close attention that the address on each label matches the address on each receipt.
You are all done and ready to take your packages to the post office. You can either go inside to actually hand your packages to the mail clerk or you can drop your packages in the postal boxes around your area or in the post office parking lot. If you want your packages picked up that day, make sure to get to the boxes before the time specified on each box.
Your customer will automatically receive tracking information, once the post office has scanned the package.
This post is about how to ship press on nails.


