This site contains affiliate links, view the disclosure for more information.

What Are Full Cover Nail Tips?
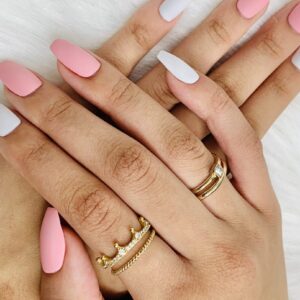
Okay, so full cover nail tips are exactly what they sound like—nail extensions that cover your entire nail bed. Unlike traditional tips that just sit at the edge of your nails, these give you a full, clean canvas to work with. They’re super versatile and can be used for everything from press-on nail designs to long-lasting extensions. Plus, they come in all shapes and sizes (hello, almond vibes!).
Why Full Cover Nail Tips Are a Must-Have
- Beginner-Friendly: If you’re new to nails, full cover tips are a dream. They’re easy to apply and don’t require a ton of skill.
- Saves Time: Pre-shaped and ready to go, they cut down on the time you’d spend sculpting or shaping traditional tips.
- Strong and Durable: Pair them with gel or glue, and they’ll last for weeks without budging.
- Perfect for Nail Art: Whether you’re into minimal designs or full-on glam, they’re the ideal base for your creativity.
How to Use Full Cover Nail Tips for Press-On Nails
If you’re a press-on nail artist (or aspire to be), full cover nail tips are your best friend. Here’s how you can use them to create stunning custom press-ons:
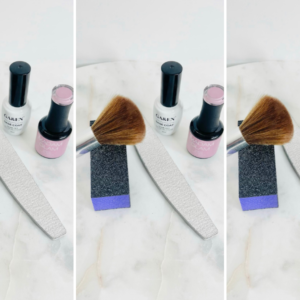
- Prep the Tips: Lightly buff the surface of the full cover nail tips to help your polish adhere better.
- Design Your Nails: Add polish, nail art, or even embellishments directly onto the tips. Gel polish works best for durability and a smooth finish.
- Seal It In: Once your design is complete, apply a top coat and cure under a UV/LED lamp for at least 60 seconds.
- Add Adhesive Tabs or Glue: For press-on nails, attach thin double-sided adhesive tabs or include nail glue for your customers.
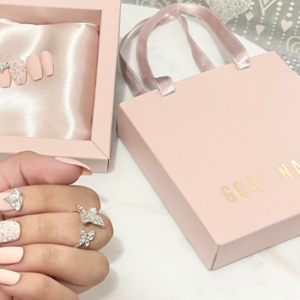
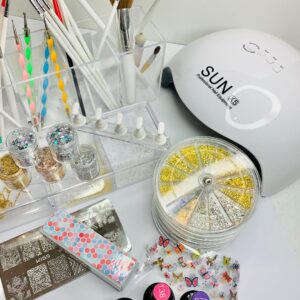
- Package with Care: Use clear storage boxes or card stock to display your press-ons beautifully, making sure everything is secure for shipping. See everything you need for press on nails here.


Creating press-on nails with full cover tips is not only super fun but also a great way to express your creativity and build a business.
How to Use Full Cover Nail Tips with Gel
If you’re going for that seamless, salon-quality finish, using full cover nail tips with gel is the way to go. Here’s how I do it:
- Prep Your Nails: Start with clean nails—push back cuticles and lightly buff your nail surface.
- Pick Your Tips: Choose tips that fit your nail bed perfectly. Pro tip: If it’s too big, file the edges for a custom fit.
- Apply Gel: Add a thin layer of gel nail glue to your natural nail (cure 60 seconds) and a small bead to the underside of the tip of the full cover nail (cure 60 seconds).
- Attach the Tip: Press the tip onto your nail (start at a 45-degree angle towards your cuticle) and flash cure under a UV/LED lamp.
- Cure Fully: Once all the tips are on, cure them completely. Then, file and shape to your heart’s content.
See the full step-by-step video below.
The Best Full Cover Nails
Not all nail tips are created equal, so let’s talk about how to find the best full cover nail tips for your needs. Here’s what to look for:
- Material: High-quality gel tips are super durable and look natural.
- Shape and Size Options: Look for packs of 500 nails 0-9 sizes. Almond, square, and coffin are some popular options.
Some of my favorite brands include Apres Gel-X Tips, Kiara Sky Gelly Tips, and Beetles Full Cover Nail Tips. Trust me, they’re worth every penny.
Whether you’re creating custom press-on nails or just want a flawless at-home mani, full cover nail tips are a total game-changer. From finding the best full cover nail tips to mastering the technique with gel, you’ll be rocking gorgeous nails in no time. And hey, don’t forget to have fun with it—nails are all about expressing yourself!


