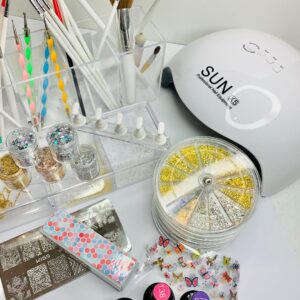
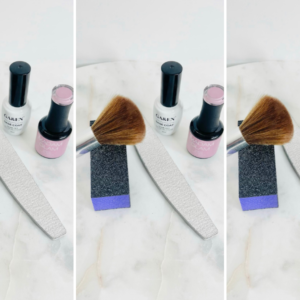
Wanna know how to do easy nail art for beginners? I’ll be showing you how I created this easy pink and white blooming nail art that you can start trying out today. This design is for beginners and will hopefully spark your creativity to create even more beautiful designs of your own.
Below you’ll find links to the items I used for this easy nail art design and the steps I took to create it. You can also check out the quick video below to see how it’s done.
This post may contain affiliate links, which means I/we may receive a commission, at no extra cost to you, if you make a purchase through a link. Please see our full disclosure for further information.

Pink & White Blooming Nail
What I Used:
Beetles Gel Polish #135 (pink)
Beetles Gel Polish #894 (white)
Tips:
Start with the pink gel nail polish then cure the first coat.
Apply another coat but don’t cure yet.
Add a drop of the white gel polish where you would like.
Use your dotting tool (I used the pink one from the set) to create swirls in the white gel polish a bit.
Now let the polish do its thing for a second or two.
Then cure.
Follow up with a top coat (matte is what I used) and you’re done.
Related Posts
You may also find the following posts helpful.
French Tip With Hearts Nail Art
How To Make Custom Press On Nails In 7 Steps
20 Press On Nail Essentials Every Nail Artist Should Own
How To Take Pictures Of Press On Nails


